Your candle warmer lamp may not melt wax because its bulb is weak, the heat setting is too low, the lamp sits too far above the candle, or the candle jar is too large or thick.
If you use a candle warmer lamp in your American home, you expect it to melt the top of your favorite scented candle and release its fragrance without an open flame. You might use one in your living room, bedroom, kitchen, or home office. But sometimes the lamp turns on, the bulb glows, and the wax stays hard. This can be frustrating, especially when you have already waited for a while.
The good news is that a candle warmer lamp that fails to melt wax does not always need replacing. The problem may come from a low dimmer setting, an unsuitable bulb, an incorrect lamp height, or a candle container that blocks too much heat. A simple check can help you find the cause.
Start by checking whether the bulb produces heat, not just light. Then inspect the dimmer, timer, lamp position, and candle jar. These checks can help you narrow down the problem without taking apart an electrical device or touching hot wax. Always follow the instructions for your exact lamp model because bulb types, wattage limits, and safe operating methods can differ.
Source: skonne.com
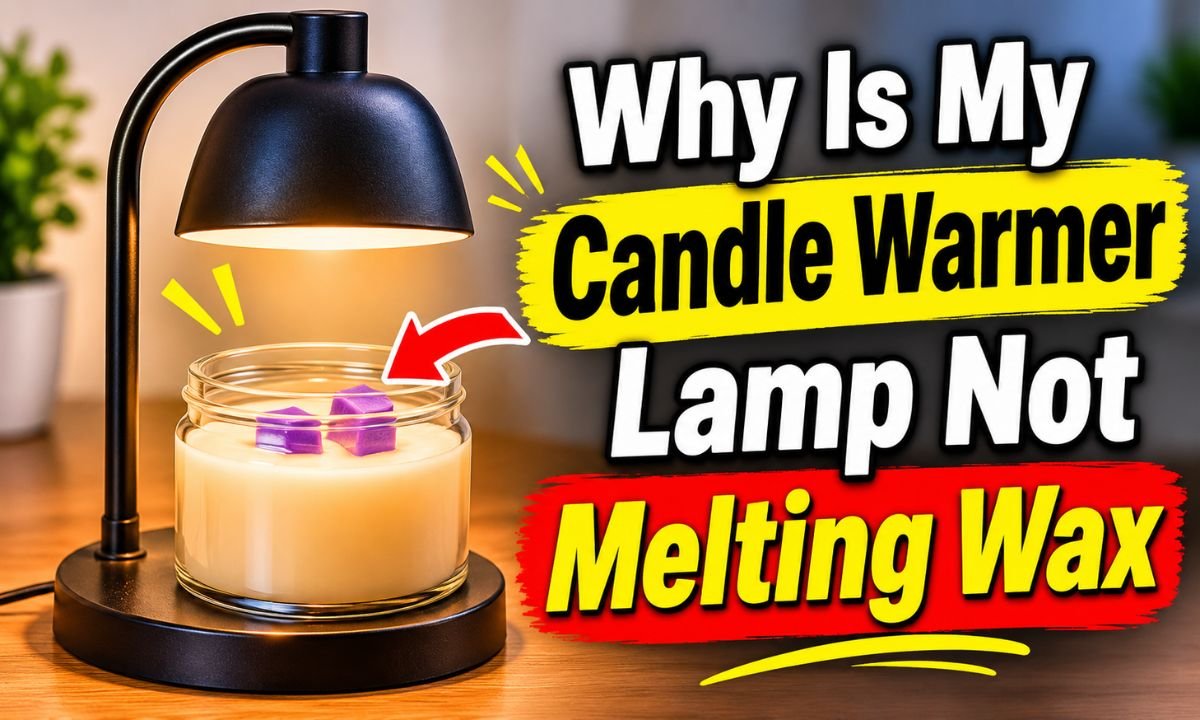
Why Is My Candle Warmer Lamp Not Melting Wax?
A candle warmer lamp may fail to melt wax when the heat reaching the candle is too low. The lamp can still light up because producing visible light and transferring enough heat to soften wax are not the same thing.
Most overhead candle warmer lamps use a heating bulb to warm the candle from above. The heat reaches the wax surface and gradually softens it. If the bulb is weak, the lamp is too high, or the glass jar absorbs or blocks much of the heat, the wax may stay firm.
The type of candle also matters. A small candle in a thin glass jar may warm sooner than a large candle in a thick container. Wax formulas, fragrance oils, room conditions, and the distance between the bulb and wax can all affect the result.
Before assuming the lamp is broken, check the simplest causes first. Look at the power connection, brightness setting, bulb, timer, and lamp height. Change only one thing at a time so you can identify what makes a difference.
Source: lightenify.com
Low heat setting
The dimmer may be set too low to provide enough heat for the candle.
Weak or incorrect bulb
The bulb may be worn out or may not match the lamp’s required type and rating.
Excessive lamp height
A bulb positioned too far from the candle may transfer less heat to the wax.
Thick candle jar
A heavy glass container can change how quickly heat reaches the wax.
Power or timer issue
The lamp may be switching off or failing to receive steady power.
Does a Glowing Bulb Mean It Is Working?
No. A glowing bulb does not prove that the lamp is heating the candle properly. Some bulbs can produce visible light while delivering too little useful heat for the setup.
Watch what happens after switching the lamp on. If the bulb lights but the wax remains completely firm, check the bulb specification, dimmer setting, and distance from the candle. Do not touch the bulb or candle to test the temperature while the lamp is running.
1. Check Whether the Bulb Is Producing Enough Heat
The bulb is one of the first things to inspect when a candle warmer lamp does not melt wax. It is the main heat source in many overhead warmer designs. If it has weakened, failed, or does not match the lamp, the candle may receive too little heat.
A common mistake is to replace a warmer bulb with any bulb that fits the socket. Physical fit alone does not guarantee electrical or heating compatibility. The bulb must match the specified base, voltage, wattage, and bulb type for your particular model.
Some warmer lamps use halogen bulbs, while others use different heating bulb designs. Their heat output and operating requirements can vary. Check the product manual or label before buying a replacement.
Source: homelist.com
Inspect the bulb
Switch off and unplug the lamp. Let the bulb cool fully before checking for visible damage, a broken filament where applicable, or other signs of failure.
Read the bulb rating
Check the manufacturer’s required bulb type and wattage. Do not guess based on the bulb’s shape.
Use a compatible replacement
Choose a replacement that matches the exact specifications listed for your warmer lamp.
Check the socket
Look for visible damage or discoloration without touching internal electrical contacts. Do not use a lamp with a damaged socket.
Can a Candle Warmer Bulb Still Work but Produce Less Heat?
A bulb can appear to work while the overall heating performance is poor. The exact behavior depends on its design and condition. A visible glow alone cannot tell you whether the bulb is delivering the intended heat.
If you have noticed that the wax used to melt but now stays firm under the same settings, a worn or failing bulb is one possible explanation. Compare the current bulb with the manufacturer’s replacement specifications rather than choosing a stronger bulb.
If a compatible new bulb does not solve the issue, the fault may be in the dimmer, socket, switch, or internal wiring. Avoid opening the lamp to investigate these parts.
Important safety rule
Never install a higher-wattage bulb to force the wax to melt faster. Excess heat can damage the lamp and create a fire or burn hazard.
2. Increase the Dimmer or Heat Setting
A dimmer set too low may be the reason your candle warmer lamp is not melting wax. Many models let you adjust the bulb’s brightness or heat output. At a low setting, the lamp may provide too little warmth for the candle you are using.
If your model has a dimmer, check its position before changing anything else. A setting that works for one small candle may not provide enough heat for a wider or thicker jar.
Raise the setting gradually within the manufacturer’s permitted range. Allow the candle time to respond, and follow the manual’s operating instructions. Avoid setting the lamp to maximum automatically because more heat is not always better.
The goal is to warm the upper wax surface at a suitable rate. You do not need to make the candle extremely hot or melt all the wax in the container.
Source: bidfta.com
How to Adjust a Dimmable Candle Warmer Lamp
Start with the lamp switched off if the manufacturer’s instructions require it. Check that the candle sits in the intended position and that the lamp is stable. Then switch the lamp on and use the dimmer as directed.
Increase the setting in small steps. Observe the wax surface from a safe distance. It may begin to soften before a clear liquid pool forms, especially when the candle has a large surface area.
If the wax remains hard despite a suitable setting, do not keep increasing the heat beyond the permitted range. Move on to the bulb, height, and candle-container checks.
Low setting
May provide insufficient heat, especially for larger candles.
Suitable setting
Should allow the wax surface to warm according to the lamp’s design and operating instructions.
Excessive setting
Can overheat the candle or lamp and may affect fragrance performance.
Why Does My Candle Warmer Lamp Have Light but No Melting?
This can happen when the dimmer limits the bulb’s output. The light may still look bright enough to suggest normal operation, but the heat reaching the candle may be insufficient.
It can also happen when the bulb is not the correct heating type. Check both the lamp’s dimmer instructions and its bulb requirements before deciding that the warmer needs repair.
3. Check the Distance Between the Bulb and Candle
Your candle warmer lamp may be positioned too high above the candle. When the distance increases, less heat may reach the wax surface during the same period. This can make the candle take much longer to soften.
Some candle warmer lamps have adjustable poles or lamp heads. These designs let you position the heating bulb for different candle heights. However, an adjustable feature does not mean you should place the bulb as close as possible.
The correct distance depends on the lamp’s design and the candle size. Follow the manufacturer’s minimum and maximum clearance instructions. If the manual gives a recommended height, use that measurement rather than guessing.
Also check whether the candle sits on the intended base. A candle placed on an extra box, thick coaster, or other raised surface may change the distance and stability of the setup.
Source: jamalprime.com
Check the lamp height
Compare the current position with the height recommended in the user manual.
Inspect the candle position
Place the candle on a stable, level surface beneath the heating head.
Adjust within the safe range
Use only the height adjustment provided by the manufacturer.
Avoid direct contact
Keep the bulb and lamp head clear of the candle jar and all other objects.
Can the Bulb Be Too Close to the Candle?
Yes. Moving the bulb closer than the approved distance can create excessive heat around the candle and lamp. This may increase the risk of overheated glass, hot surfaces, damaged components, or a fire.
Do not lower the lamp until the bulb almost touches the jar. The correct position is the one stated in the manufacturer’s instructions, not the closest position that makes the wax melt.
4. Your Candle Jar May Be Too Thick or Too Large
The candle container can affect how quickly wax melts under a warmer lamp. A thick glass jar may change the amount of heat that reaches the wax, while a wide candle may need more time to develop a visible melted surface.
Not all candle jars respond in the same way. Two candles with similar wax amounts may have different jar shapes, glass thicknesses, and surface areas. These differences can affect how the heat spreads.
Large candles may also have a greater wax surface to warm. If your warmer lamp is designed for smaller jars, it may not provide the intended performance with a large container.
Check the lamp’s stated candle-size limits and clearance requirements. Never assume that a candle will be suitable simply because it fits beneath the lamp.
Source: walmart.com
Thick glass
May slow the transfer of heat to the wax.
Wide candle
May need more time for the upper surface to warm evenly.
Large candle
May exceed the size or heating capacity intended for the lamp.
Unusual container
May not be suitable for use beneath an overhead warmer.
How to Tell Whether the Candle Jar Is the Problem
First, check whether the lamp is rated for the candle’s size and shape. If the manual lists a maximum candle diameter or height, stay within that limit.
If you have another candle in a smaller, compatible container, you can compare how the lamp performs with that candle. Switch off the lamp and let the setup cool before changing candles. Do not use an oversized or unstable container for this comparison.
If the smaller candle warms but the larger one does not, the container size or shape may be contributing to the problem. This does not prove that the lamp is defective.
5. Check the Power Connection and Electrical Switch
A poor power connection can stop a candle warmer lamp from heating properly. The lamp may flicker, switch off, or fail to stay on when the electrical connection is unstable.
Start with the wall outlet. Make sure the plug is fully inserted and that the outlet is working. If you use a power strip or extension cord, check the lamp manufacturer’s instructions before using it with that setup.
You can also inspect the external power cord and plug for visible damage. Look for cuts, exposed wires, melted areas, unusual discoloration, or a loose plug. Never use a damaged lamp, even if it still turns on.
If the outlet works with another suitable device but the warmer lamp does not, the fault may be inside the lamp. Do not remove its base, open the switch housing, or attempt electrical repairs unless you are qualified to do so.
Source: amazon.com
Test the outlet
Use a suitable working device to check whether the outlet supplies power.
Inspect the plug
Check for cracks, burn marks, loose parts, or unusual heat.
Check the cord
Stop using the lamp if the cable is cut, crushed, frayed, or exposed.
Avoid unsafe adapters
Use only power accessories that meet the lamp manufacturer’s requirements.
What If the Lamp Turns On and Then Switches Off?
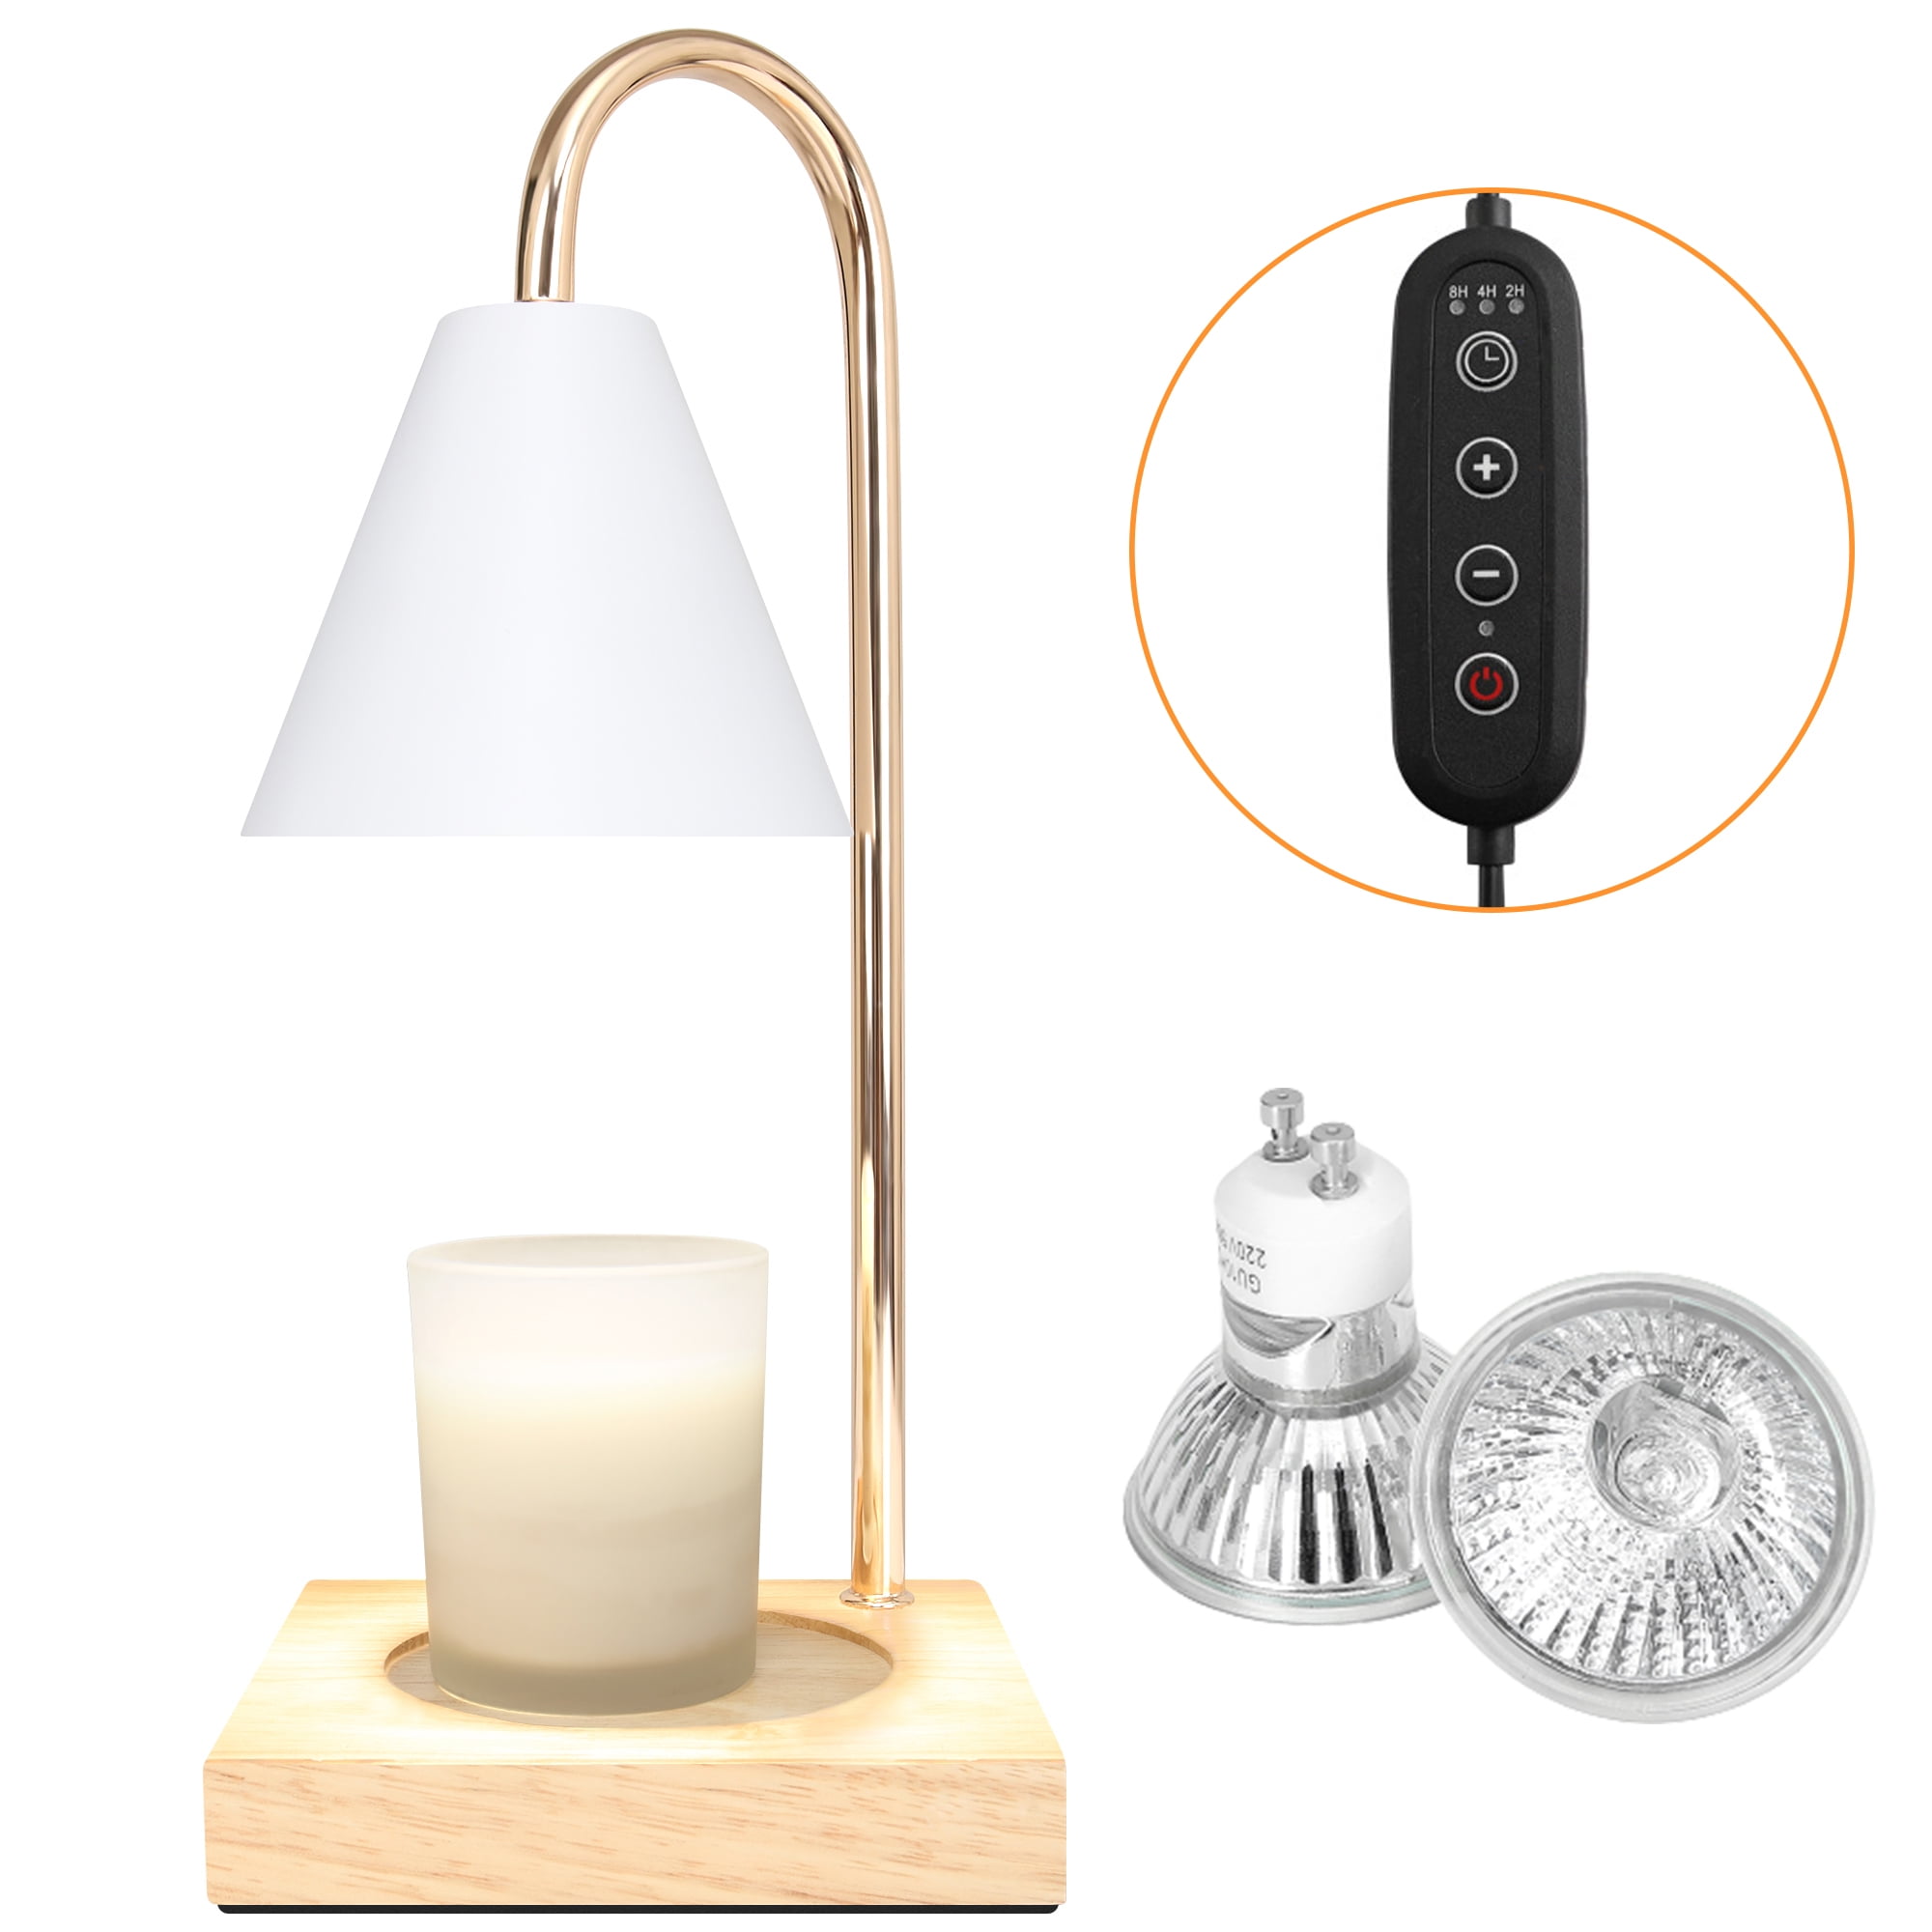
The timer may be ending its cycle, or an electrical fault may be interrupting power. Check the timer display and settings first. Some models have automatic shutoff features that stop the heating cycle after a selected period.
If the lamp switches off unexpectedly, flickers, smells like burning plastic, or makes unusual electrical noises, unplug it when safe and stop using it. Do not repeatedly switch it on to see whether the problem disappears.
6. The Timer May Be Switching the Lamp Off
A candle warmer lamp with an automatic timer may stop heating before you notice a melted wax surface. This is especially possible if the timer is set to a short operating period.
Some models offer several timer choices, while others have a fixed automatic shutoff. The exact functions depend on the product. A timer is not a guarantee that the candle has reached a particular temperature or melted to a certain depth.
Check the display or indicator light to see whether the timer is active. Read the manual to learn how to select or reset the operating period. Do not bypass an automatic shutoff feature to keep the warmer running.
If the timer is set correctly but the lamp still switches off unexpectedly, the problem may involve the control system or power supply. Stop using the device if you suspect an electrical fault.
Source: amazon.co.uk
Check the selected time
Make sure the lamp is not set to a shorter cycle than you intended.
Review the timer instructions
Learn how your model starts, pauses, and ends a heating cycle.
Watch the indicator
Check whether the lamp is showing an active timer or an automatic shutoff state.
Do not bypass safety controls
Never modify the timer or electrical controls to extend operation.
Does a Candle Warmer Lamp Need to Stay On All Day?
No. You should not leave a candle warmer lamp running all day just to make wax melt. Follow the manufacturer’s instructions for operating time and automatic shutoff.
Longer operation is not automatically better. Excessive heating may affect the candle, fragrance, and surrounding materials. Switch the lamp off when you are finished using it, and never leave it unattended unless the manufacturer’s instructions explicitly permit the relevant operation.
7. Your Candle Wax May Need More Time to Warm
Sometimes the warmer lamp is working, but the candle simply needs more time. Wax does not always melt as soon as the bulb turns on. The surface must absorb enough heat before it begins to soften and form a liquid pool.
The warming process can vary with the candle’s size, wax formula, container, starting temperature, and lamp design. A candle stored in a cool room may take longer to warm than one kept in a warmer indoor space.
Look at the wax surface rather than expecting the whole candle to become liquid. An overhead warmer is generally intended to warm the upper portion of the candle. It does not need to melt every layer down to the bottom.
Do not use an arbitrary long heating period to compensate for poor performance. Follow the instructions for your model and stop if the lamp, jar, or surrounding area becomes unusually hot.
Source: amazon.com
How Do You Know the Wax Is Starting to Melt?
The surface may first look slightly softer or glossier. Small areas can become liquid before the entire top layer melts. A gradual change is a sign that heat is reaching the wax.
If the surface stays completely unchanged, review the bulb, dimmer, height, and container. If the surface becomes liquid but the fragrance seems weak, that is a different problem from a lamp that cannot melt wax.
Wax remains hard
Check whether enough heat is reaching the candle.
Wax softens slowly
The lamp may be warming the surface, but the setup may need further evaluation.
A liquid surface forms
The warmer is transferring heat to the wax.
8. How to Troubleshoot a Candle Warmer Lamp Step by Step
The easiest way to find the cause is to check the lamp in a safe, logical order. Begin with visible settings and external connections. Move on to bulb compatibility and candle size only after checking the basic controls.
You do not need to take the lamp apart or touch hot components. Most basic checks involve reading the manual, looking at the controls, and checking the candle’s position.
Source: lightenify.com
Step 1: Switch off the lamp
Turn it off and unplug it before inspecting the bulb, cord, or other external parts. Let hot components cool.
Step 2: Check the power source
Make sure the outlet works and the plug is fully connected. Look for visible cord or plug damage.
Step 3: Review the dimmer
Check whether the brightness or heat control is set too low. Use only the permitted settings.
Step 4: Inspect bulb compatibility
Compare the bulb with the required type, base, voltage, and wattage in the manual.
Step 5: Review lamp height
Make sure the heating head is within the approved distance from the candle.
Step 6: Check candle size
Confirm that the jar fits the warmer’s size and clearance limits.
Step 7: Review the timer
Check that the selected operating period and automatic shutoff settings are correct.
Step 8: Test only under normal conditions
If there is no damage or fault, use the lamp according to its manual and observe whether the wax surface begins to soften.
Signs That Your Candle Warmer Is Working Properly
A properly functioning warmer should respond to its controls and provide the heating behavior described in its instructions. The wax surface should begin to soften when the candle and lamp are compatible and the operating conditions are suitable.
You may notice a liquid layer forming on top of the candle. The fragrance may become more noticeable as the wax warms, although scent strength depends on the candle and room conditions.
The lamp should remain stable and should not produce burning smells, electrical crackling, smoke, or unexpected shutdowns. Any unusual electrical or overheating sign is a reason to stop using it.
9. Common Mistakes That Prevent Wax From Melting
Some troubleshooting mistakes can make a candle warmer perform poorly or create unnecessary safety risks. A common example is installing a stronger bulb without checking the lamp’s electrical rating.
Another mistake is moving the heating head too close to the jar. While a shorter distance may seem like an easy fix, it can expose the candle and lamp to excessive heat.
It is also easy to blame the lamp when the candle container is unsuitable. Check the size, shape, and material of the jar before deciding that the electrical device has failed.
Source: bidfta.com
Using the wrong bulb
A bulb that fits the socket may still have the wrong base, voltage, wattage, or heating characteristics.
Choosing maximum heat immediately
The highest setting may not be suitable for every candle or lamp.
Ignoring the timer
An automatic shutoff can end the heating cycle before you expect it.
Using an oversized candle
A large jar may be outside the lamp’s intended operating range.
Moving the bulb too close
Reducing the clearance below the approved distance can create a hazard.
Ignoring electrical damage
A lamp with a damaged cable, plug, or socket should not remain in use.
Should You Use a Stronger Bulb to Melt Wax Faster?
No. You should never exceed the bulb wattage or use a bulb type that the manufacturer has not approved. A stronger bulb can generate more heat than the lamp’s socket, wiring, or shade can safely handle.
If the correct bulb does not melt the wax, investigate the dimmer, lamp height, timer, and candle compatibility. If the lamp still fails, contact the manufacturer or replace the device with a model designed for your candle size.
10. Candle Warmer Lamp Troubleshooting Table
Use this table to match the problem you see with a likely cause and a safe first check. These are troubleshooting possibilities, not guaranteed diagnoses. Several faults can create similar symptoms.
The bulb glows, but wax stays hard
Possible causes include a low dimmer setting, an unsuitable bulb, excessive lamp height, or a thick candle jar. Check the manual and approved settings.
The lamp does not turn on
Possible causes include a faulty outlet, loose plug, failed bulb, damaged switch, or internal electrical fault. Check the outlet and external cord condition.
The lamp turns off quickly
Check the timer and automatic shutoff settings. Unexpected shutdowns may also indicate a fault.
Only part of the wax melts
The heating pattern, candle shape, and bulb position may affect the result. Check the recommended setup.
The wax melts but fragrance is weak
The issue may involve fragrance strength, candle age, room size, or scent loss rather than insufficient heating.
The lamp smells like burning plastic
Stop using it, unplug it when safe, and do not restart it until the fault has been assessed.
The bulb flickers
A bulb, socket, switch, or electrical connection may be faulty. Stop using the lamp if flickering continues.
When Should You Stop Troubleshooting?
Stop using the warmer if you see smoke, sparks, exposed wires, melted plastic, a damaged plug, or signs of overheating. An unusual burning smell is also a warning sign.
Do not open the lamp base or try to repair its internal wiring. Contact the manufacturer, an authorized repair service, or a qualified electrician when appropriate. Replace the device if it cannot be safely repaired.
11. Does the Type of Candle Wax Affect Melting?
Yes. Different candle wax blends can behave differently when heated. Soy, paraffin, beeswax, coconut blends, and other formulations may have different melting characteristics.
The exact behavior depends on the candle formula rather than the wax name alone. Additives, fragrance oils, and other ingredients can affect the finished product.
This means two candles may respond differently under the same warmer lamp. One may form a liquid surface while another softens more slowly.
Do not assume that every wax type should melt at the same rate. Use the candle according to its manufacturer’s guidance and check whether your warmer is suitable for its container.
Does Soy Wax Take Longer to Melt?
It can, depending on the specific soy wax blend, container, and heating conditions. Soy candles are not all made with the same formula, so there is no single melting time that applies to every product.
If a soy candle stays hard, check the lamp’s settings and bulb before blaming the wax. The candle jar may also be affecting the heating process.
Can Beeswax Be Used With a Candle Warmer Lamp?
That depends on the candle and warmer instructions. Beeswax candles can have different heating characteristics from other wax blends. Check the candle’s container and the warmer manufacturer’s compatibility guidance before use.
Do not increase the bulb wattage or place the bulb closer to compensate for a different wax formula.
12. What If the Wax Melts but the Candle Has No Fragrance?
A candle that melts without producing much fragrance has a different problem from one that does not melt at all. Once the upper wax layer becomes warm or liquid, the fragrance may spread through the room, but the strength can vary.
The candle’s fragrance formula, age, storage conditions, and room size can all affect how noticeable the scent is. A mild fragrance may also be less noticeable in a large open room.
Do not assume that turning the warmer to its highest setting will restore a weak fragrance. Excessive heat may not improve scent performance and can affect the candle or device.
Check the candle manufacturer’s instructions and make sure the warmer is operating within its approved range. If the wax is warming normally but the scent remains weak, the candle itself may be the limiting factor.
Check candle age
An older candle may not release fragrance as expected.
Consider room size
A scent that is noticeable in a small bedroom may be harder to detect in a large living room.
Check storage
Poor storage may affect the candle’s fragrance over time.
Avoid excess heat
Use the warmer within its recommended settings rather than trying to force a stronger scent.
13. How to Use a Candle Warmer Lamp Safely
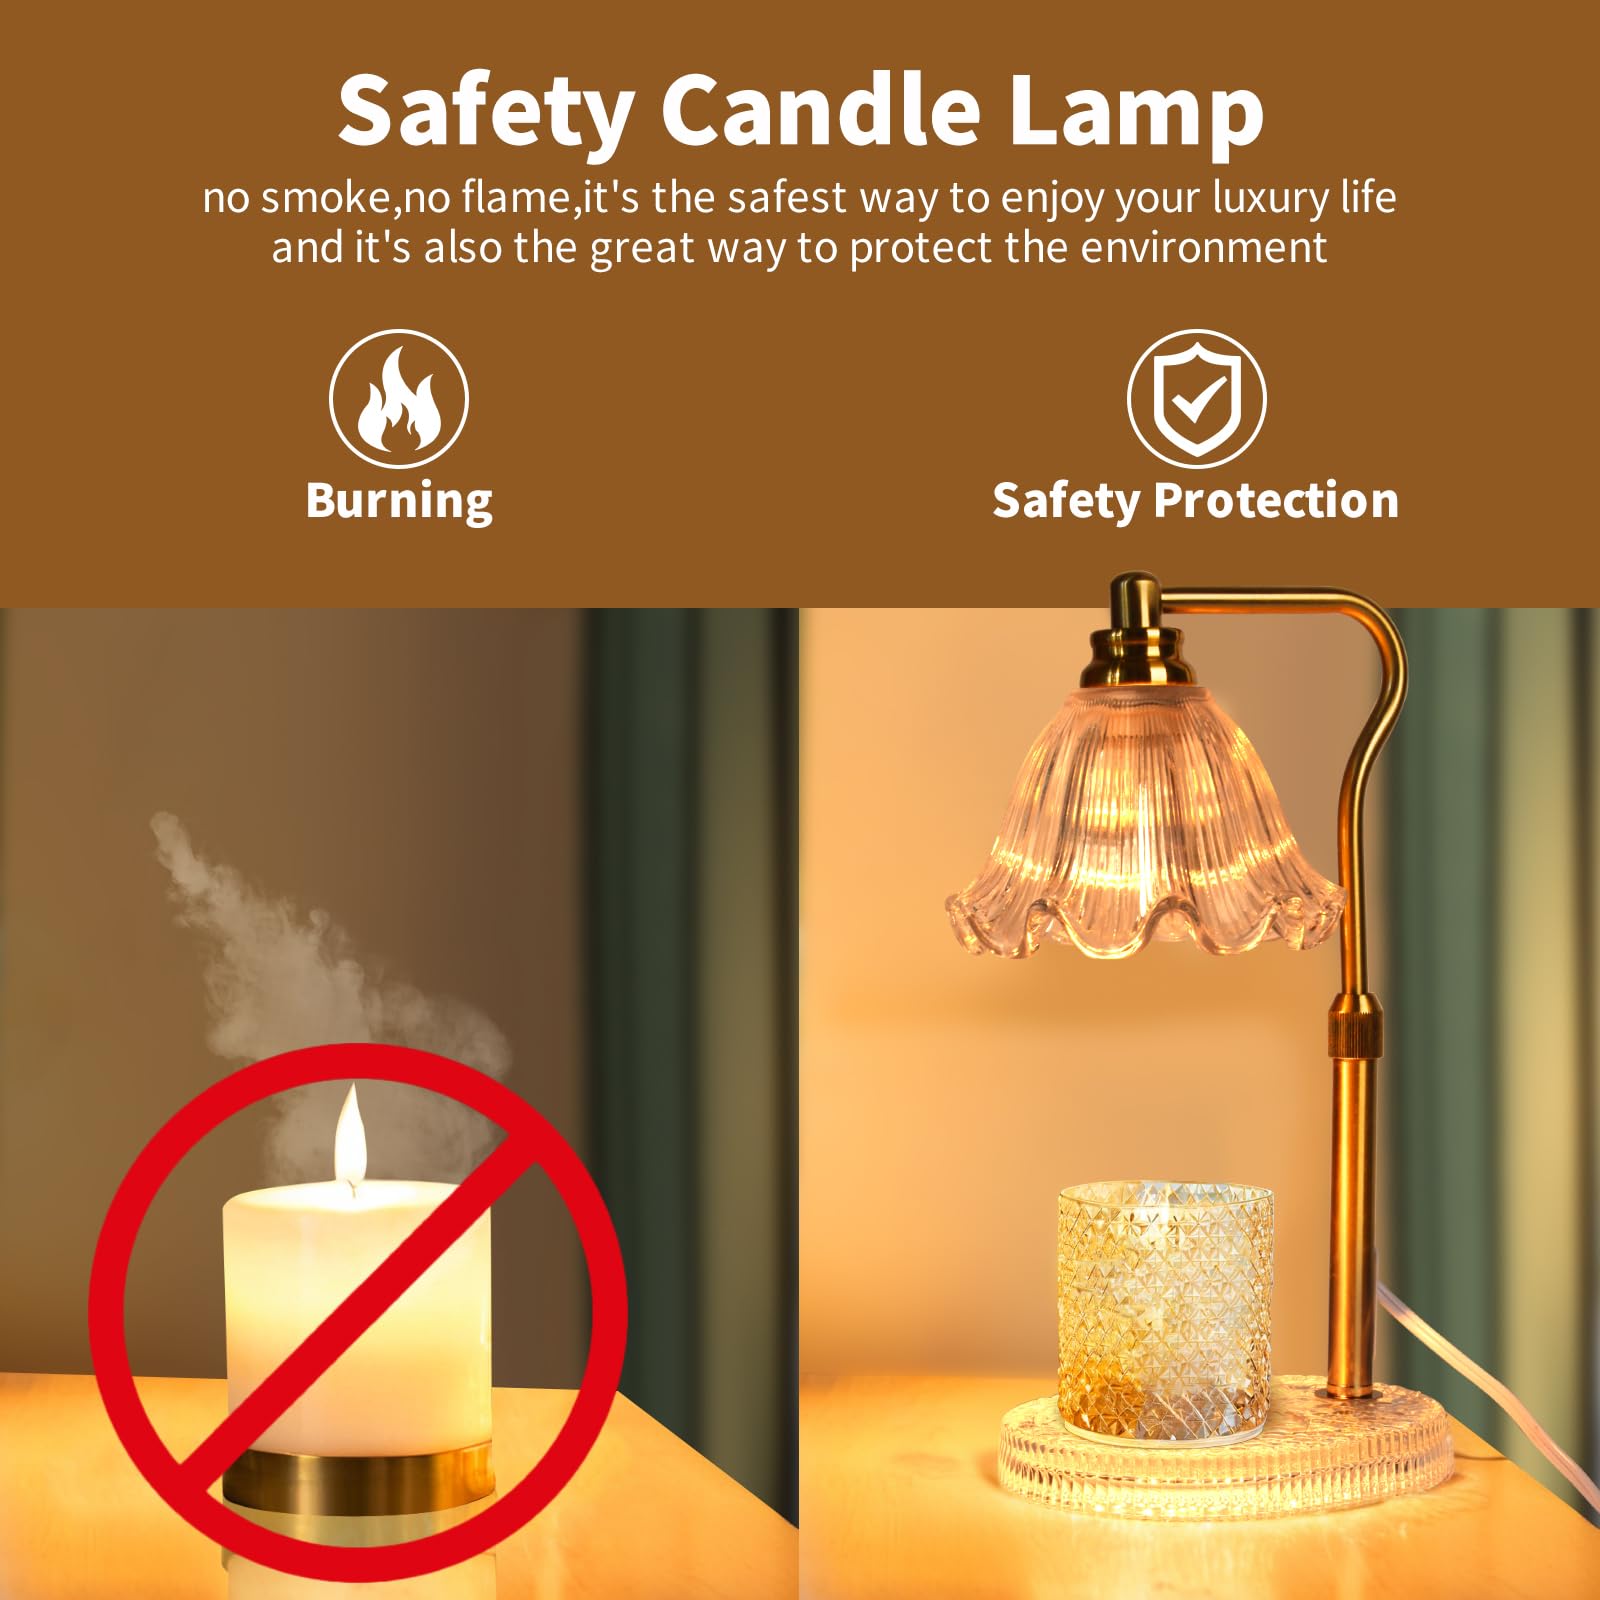
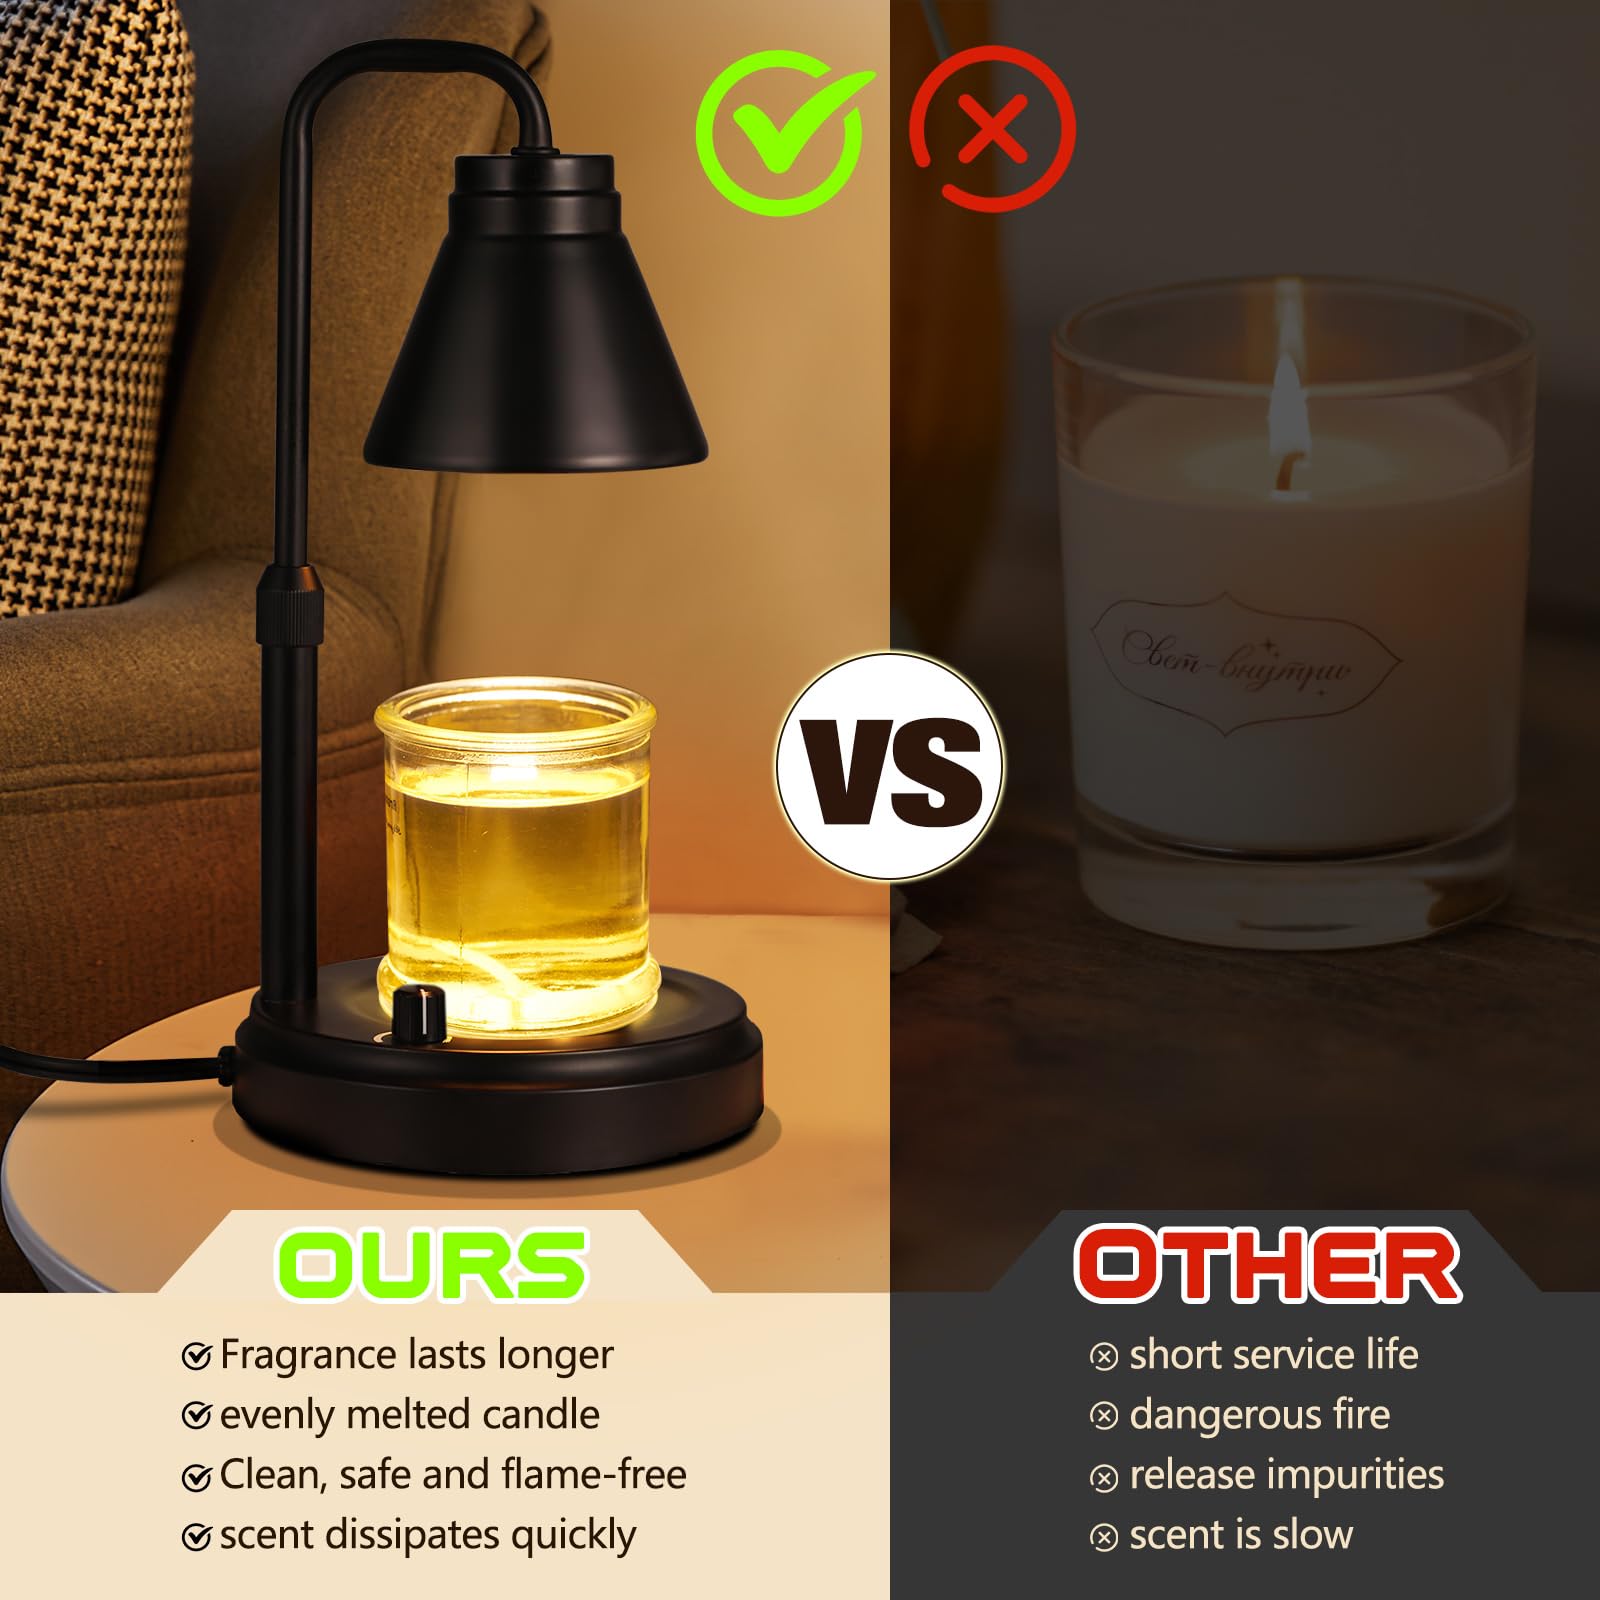
A candle warmer lamp avoids the need for a lit wick during normal warming, but it is still an electrical heating device. The bulb, candle jar, melted wax, and lamp head can become hot during use.
Place the lamp on a stable, level, heat-resistant surface. Keep it away from curtains, paper, bedding, loose fabrics, and other items that may be affected by heat.
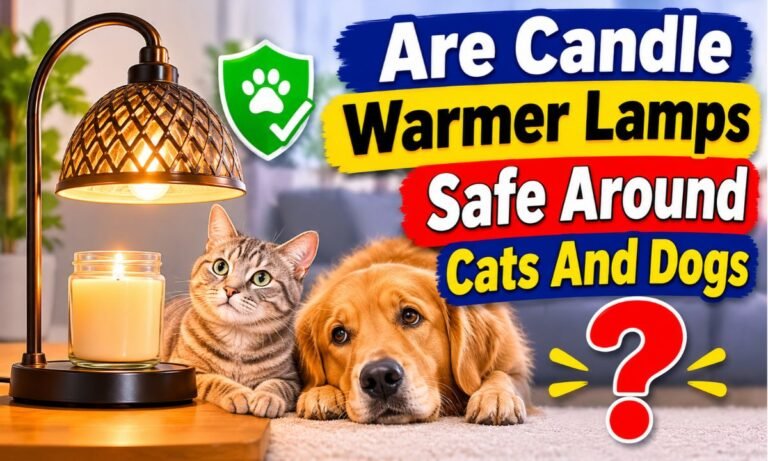
Keep the warmer out of reach of children and pets. Do not move the lamp while it is hot or carry it by the adjustable arm. Switch it off and allow the parts to cool before changing the candle or bulb.
Never pour hot wax into a drain or handle it while it is liquid. Follow the candle and warmer instructions for cleaning and maintenance. Avoid water near the lamp’s electrical components.
Use a stable surface
Keep the warmer on a level surface where it cannot tip over easily.
Keep flammable items away
Leave suitable clearance around the lamp and candle.
Watch children and pets
Hot wax and lamp parts can cause burns.
Unplug before maintenance
Allow the lamp to cool before inspecting or replacing the bulb.
Follow the manual
Use the correct bulb, timer, operating position, and candle size.
Do not leave it unattended
Follow the manufacturer’s supervision requirements and switch it off when finished.
Is a Candle Warmer Lamp Completely Fire-Safe?
No electrical heating device should be treated as completely risk-free. A candle warmer lamp does not use an open flame to warm the wax, but its hot bulb and electrical parts can still create hazards.
A damaged cord, incorrect bulb, unstable base, or nearby flammable material can increase the risk of an accident. Proper placement, correct parts, and safe operation remain essential.
14. When Should You Replace Your Candle Warmer Lamp?
Consider replacing the lamp when basic checks do not solve the heating problem and the manufacturer cannot provide a suitable repair. A lamp with damaged electrical parts should not remain in use.
If the bulb, outlet, settings, and candle compatibility are all correct but the device still fails, an internal component may be defective. This is especially possible if the warmer has stopped working after previously operating normally.
Check whether the product is still covered by a warranty. Contact the seller or manufacturer with the model number, a description of the symptoms, and the steps you have already tried.
If replacement is necessary, choose a warmer with a compatible bulb system, clear operating instructions, suitable candle-size limits, and reliable safety controls. Do not select a model only because it advertises higher heat output.
Visible electrical damage
Replace or professionally assess a lamp with damaged wiring, a broken plug, or a damaged socket.
Repeated unexpected shutdowns
Have the device assessed if it continues to shut off despite correct timer settings.
Persistent heating failure
Consider replacement when compatible parts and normal settings do not restore operation.
No suitable replacement bulb
If the required bulb is unavailable, ask the manufacturer about a supported replacement or replacement device.
15. A Simple Prevention Plan for Future Heating Problems
Regular care can help you avoid many candle warmer problems. You do not need an elaborate maintenance routine. A few checks before and after use can help you spot issues early.
Keep the lamp clean according to its manual. Dust around the shade or heating area may affect the device, while spilled wax can create a mess or interfere with moving parts. Never clean a hot or plugged-in lamp.
Store replacement bulbs carefully and keep their packaging or specifications. This makes it easier to buy the correct type when the original bulb fails.
Also keep the candle size within the lamp’s approved range. A compatible candle and a suitable lamp position can help the warmer operate as intended.
Before each use
Check the plug, cord, bulb area, lamp stability, and candle position.
During use
Observe the warmer for flickering, unusual smells, smoke, or unexpected shutdowns.
After use
Switch off the lamp and allow it to cool before moving or cleaning it.
When replacing the bulb
Use only the specified bulb type and electrical rating.
Frequently Asked Questions
Q
Why is my candle warmer lamp not melting wax even though the bulb is on?
The bulb may be producing light without delivering enough heat to the candle. A low dimmer setting, incorrect bulb, excessive lamp height, or thick glass jar can also prevent proper melting. Check the bulb specifications and lamp settings before considering a replacement.
Q
How long should a candle warmer lamp take to melt wax?
There is no universal melting time for every candle warmer lamp. The result depends on the bulb, heat setting, lamp height, candle size, wax blend, and container. Follow your model’s instructions and look for gradual softening of the upper wax surface rather than expecting the whole candle to melt.
Q
Can I use a higher-wattage bulb in my candle warmer lamp?
No. Use only the bulb type and wattage approved by the manufacturer. A higher-wattage bulb may overheat the socket, wiring, shade, or surrounding materials. A bulb that fits the socket is not necessarily a safe or compatible replacement.
Q
Why does my candle warmer lamp melt only the top of the candle?
Many overhead candle warmer lamps are designed to warm the upper wax layer rather than melt the entire candle. A liquid surface can be normal. You do not need to make all the wax inside the jar liquid for the warmer to perform its intended function.
Q
Why is my candle warmer lamp not melting wax after I replaced the bulb?
The replacement bulb may have the wrong type, base, voltage, or wattage. The dimmer, timer, power connection, or internal electrical components may also be responsible. Compare the replacement with the exact manufacturer specifications. If the problem continues, stop troubleshooting internally and contact the manufacturer.
Q
Can cold room temperature stop a candle warmer from melting wax?
A cool room can affect how quickly a candle warms, especially when the candle itself starts at a low temperature. However, room temperature is only one possible factor. Check the bulb, dimmer, candle container, and lamp height before blaming the room.
Q
Why is my candle warmer lamp melting wax unevenly?
Uneven melting may result from the shape of the candle, the position of the heating bulb, or differences in how heat reaches the wax. Check that the candle is centered beneath the lamp and that the heating head is positioned according to the manual. Do not move the bulb closer than the approved distance.
Q
Should I remove some wax if my candle warmer lamp is not melting it?
Removing wax is not a reliable way to fix a lamp that cannot heat the candle. First check the bulb, dimmer, timer, lamp height, and container compatibility. If wax removal is needed for another reason, follow the candle manufacturer’s guidance and never handle hot or liquid wax without proper precautions.
Q
Can a candle warmer lamp stop working because of a faulty timer?
Yes. A timer or control fault may stop the heating cycle earlier than expected or prevent normal operation. Check the selected timer setting and the user manual. If the lamp continues to shut off unexpectedly, stop using it and contact the manufacturer.
Q
Is it safe to leave a candle warmer lamp on overnight?
Do not assume that a candle warmer lamp is safe to leave running overnight. Follow the manufacturer’s operating and supervision instructions. Turn it off when you are finished, and never bypass automatic shutoff features or leave a malfunctioning warmer running.
✦ Wrapping Up
Conclusion
If your candle warmer lamp is not melting wax, the problem is often related to insufficient heat reaching the candle. A low dimmer setting, weak or incompatible bulb, excessive lamp height, thick glass jar, or timer issue may be responsible.
Start with the simple checks. Inspect the power connection, review the dimmer and timer, confirm the correct bulb, and make sure the candle fits the warmer’s approved size range. Check the lamp height without moving the bulb closer than the manufacturer allows.
Remember that a candle warmer does not need to melt every bit of wax in the jar. A softened or liquid upper layer may be all that the device is designed to produce. If the lamp still fails to heat the candle, or if you notice sparks, smoke, burning smells, damaged wires, or unusual overheating, stop using it and seek appropriate help.
A little troubleshooting can often identify the cause without buying another warmer. However, electrical safety should always come first. Never use an oversized bulb or modify the lamp to force the wax to melt faster.
💡 Key Takeaway
Switch off and unplug your candle warmer lamp, let it cool, and check the bulb specifications, dimmer, timer, lamp height, and candle size. Correct only the settings and parts approved by the manufacturer. If the wax still does not soften or you notice any electrical warning signs, stop using the lamp and contact the manufacturer.







2 Comments